
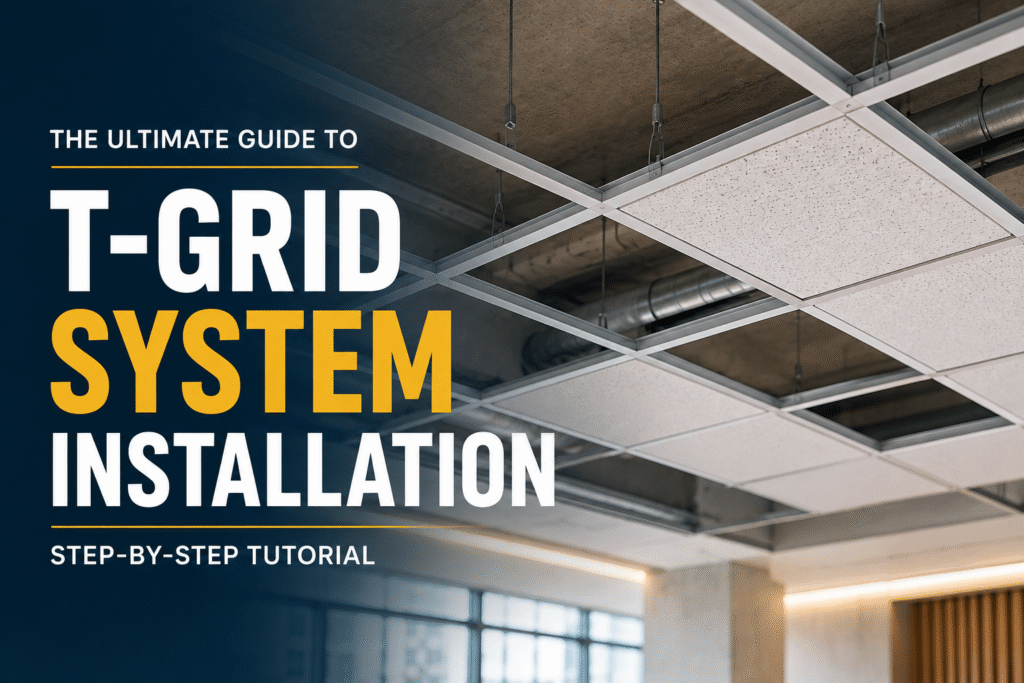
A T-grid ceiling looks deceptively simple — a metal grid, some tiles dropped in, done. And yet the difference between a crisp, level, professional ceiling and a sagging, off-square one that draws the eye for all the wrong reasons comes down almost entirely to how carefully it was installed. We’ve re-done plenty of grids where the tiles were fine but the setting out was rushed.
This tutorial walks through the process the way it should be done, step by step. It’s written so you understand what good looks like — whether you’re installing a small ceiling yourself or making sure a contractor is doing it right. Larger, fire-rated, or seismic-zone jobs are professional territory, but the principles below apply to every T-grid ceiling.
Before You Start: Planning and Setting Out
Good installation is won before a single component goes up. Set out the grid on paper first. Measure the room and plan the layout so the border tiles on opposite sides are balanced and reasonably sized — a full tile on one side and a thin sliver on the other is the clearest sign of a rushed job, and it’s entirely avoidable.
Decide your ceiling height, allowing enough plenum depth for the services, lights, and any recessed fittings above. Confirm the tiles and grid you’re using are a compatible, tested system, and that the grid’s corrosion class suits the environment — humid and coastal spaces need corrosion-resistant grids or the metalwork fails first.
Tools and materials: wall angle (perimeter trim), main runners, cross tees, hanger wire, suitable fixings, tiles, plus a laser level, chalk line, tin snips, and a measuring tape.
Step-by-Step T-Grid Installation
Step 1: Mark the Perimeter Level
Establish your ceiling height and mark a dead-level line around the entire room. A laser level makes this fast and accurate; a water level works too. This line governs the whole ceiling, so take your time — every later step references it.
Step 2: Fix the Wall Angle
Fix the wall angle (perimeter trim) to the walls along your level line, using appropriate fixings for the wall type at sensible centres. Keep it tight to the line and neatly mitred or overlapped at corners. This trim carries the edges of the grid and the border tiles.
Step 3: Position the Main Runners and Hangers
Lay out where the main runners will go — typically at 1200mm centres — based on your setting-out plan. Install hanger wires to support them, fixed to the structure above (never to ducts, pipes, or other services), usually at a maximum of 1200mm along each runner with a hanger near each end. Hang and level the main runners so they sit flush with the perimeter trim.
Step 4: Install the Cross Tees
Clip the cross tees between the main runners to form your grid modules — commonly 600 × 600mm or 600 × 1200mm. Make sure each connection is fully engaged and the grid is square; check diagonals as you go. A grid that’s even slightly out of square will show in every tile.
Step 5: Check Level and Square
Before any tiles go in, go back over the whole grid. Confirm it’s level across the room and square throughout, and adjust the hangers as needed. Fixing problems now is easy; fixing them after the tiles are in is not.
Step 6: Drop in the Tiles
Tilt each tile diagonally, lift it through the grid opening, and let it rest down onto the flanges. Work cleanly — handle tiles by the edges, especially laminated or faced tiles that mark permanently. Cut border tiles accurately to fit the perimeter. Use hold-down clips where needed: on lightweight tiles, in corridors, and anywhere air pressure or wind uplift could lift them.
Step 7: Integrate Services and Finish
Fit light fittings, diffusers, and other services into the grid per their requirements — and support anything heavy independently, not off the grid. Give the ceiling a final look-over for level, alignment, and clean borders.
Where T-Grid Installations Apply
- Offices and commercial spaces use T-grids as the default accessible ceiling.
- Educational institutions rely on them for durable, acoustic classroom ceilings.
- Healthcare needs hygienic, corrosion-appropriate grids with easy service access.
- Auditoriums usually call for bespoke or concealed systems rather than standard exposed grids.
- Home theatres are generally not suited to lay-in grids, whose gaps and light tiles work against the sealed, decoupled construction isolation needs.
- Residential use is mostly basements and utility areas where access beats a seamless finish.
Conclusion
Installing a T-grid ceiling well isn’t complicated, but it is unforgiving of shortcuts. Set out the layout for balanced borders, establish a dead-level perimeter, fix hangers to the structure, build the grid square, and drop in the tiles cleanly — with the right grid for the environment and hold-down clips where needed. Follow that sequence and you get a ceiling that’s level, secure, accessible, and genuinely professional. Rush the setting out, and it’ll show every day the building is in use.
Frequently Asked Questions
How far apart should T-grid hangers be?
Typically, a maximum of around 1200mm along the main runners, with a hanger near each end, and always fixed to the building structure rather than to ducts or pipes. Follow the manufacturer’s specification for your system.
What is the standard T-grid module sizes?
Most commonly 600 × 600mm or 600 × 1200mm. The exposed grid face is usually 24mm wide, or 15mm for slimline systems, with the module size chosen to suit the tiles and the room layout.
Can I install a T-grid ceiling myself?
A small, simple ceiling is achievable with care and the right tools, provided setting out and levelling are done properly. Larger, fire-rated, or seismic installations are professional work, as is anything where compliance and safety are critical.
Why is my ceiling grid not level or square?
Usually because the perimeter line wasn’t dead level, the hangers weren’t adjusted evenly, or the grid wasn’t checked for square during assembly. These should be corrected before tiles are installed, since fixing them afterward is far harder.
Do I need hold-down clips?
Often, yes. Lightweight tiles, corridors, doorways, and areas with air pressure differences or wind uplift need clips to stop tiles lifting and rattling. Fire-rated assemblies may also require them.